
 The following is taken from the Preparing Local Vegetables Food Skills Workshop.
Blanching is a technique used to:
The following is taken from the Preparing Local Vegetables Food Skills Workshop.
Blanching is a technique used to:
- Prepare vegetables for freezing.
- Prepare an ingredient for a recipe but then stop the cooking process to put it aside for later.
- Lessen the bitterness of vegetables before using them in a recipe (e.g. leafy cooking greens).
Blanching involves quickly boiling or steaming vegetables until they are lightly cooked and then immediately submerging them in a bowl of cold water and ice cubes to stop the cooking process.
Here we're focusing on how to blanch vegetables in order to freeze them, but the same instructions work for the other two ways described above, just don't go on with steps 5 and 6 below.
There are a few different reasons to blanch vegetables before freezing them:
- It preserves flavour, colour and texture by slowing down enzymes that naturally deteriorate food.
- It cleans the vegetables of dirt and organisms left behind when washing them.
- It wilts and softens vegetables slightly so that they are easier to pack for the freezer.
- It removes some of the bitterness from vegetables.
Note: Be aware that blanching vegetable for less than the recommended times will not give you the desired effects described above. Also, over-blanching vegetables will cause them to become mushy and lose flavour and nutrients.
There are two common ways to blanch vegetables, by boiling them first or by steaming them. Each type of vegetable responds better with one of the techniques (see chart below). The following instructions are quoted and adapted from Freezing: Fruits and Vegetables, a fact sheet from Iowa State University Extension.
Step 1: “Choose young, tender vegetables at their peak of flavor and texture. Freeze as soon after picking as possible. Refrigerate vegetables if they cannot be frozen soon.
Step 2: Work in small quantities.
Step 3: Blanch in boiling water or steam. Start counting blanching time as soon as the lid is on.
- To blanch in boiling water: Blanch no more than 1 pound (453g) of vegetables per gallon (3.78L) of boiling water at a time. Immerse wire basket or mesh bag with vegetable in boiling water. Cover and keep on highest heat for the total blanching time.
- To steam blanch: Place one layer of vegetables in a wire basket or cheesecloth bag suspended at least 3-inches above 1-2 inches of rapidly boiling water in steamer. Cover.
Generally, water blanching takes less time and fuel. However, the nutrient losses may be somewhat less for steam blanching.
Step 4: Put vegetables immediately in cold water (15°C/60°F or less) for the same amount of time as for blanching along with about 1 pound of ice for each pound of vegetables. Afterwards drain thoroughly and let vegetables dry well.
Step 5: Two basic packing methods for freezing vegetables:
- Dry pack: Pack well dried vegetables tightly in freezer bags or rigid containers. Squeeze as much air as possible from bags before sealing. Leave ½- to ¾ inch headspace for expansion in containers.
- Tray pack: Place well dried vegetables in single layer on trays or pans. Place in freezer until firm, remove and quickly fill labeled bags or containers. Close and freeze immediately.
Step 6: Label with product and date. Freeze…Use within 8 to 12 months for best quality and nutrient retention.”
Note: Cut all pieces for blanching to be approximately the same size so that they finish cooking and cooling at the same time.
Use the chart below to learn how to blanch different vegetables.
|
Vegetable |
Preparation |
Blanching/Cold water bath times (do each for same amount of time) |
Notes |
| Asparagus | Leave whole or cut up. | Small stalks- 2 minMedium- 3 minLarge/thick- 4 min | |
| Beans, green & yellow podded | Snip off tips. Leave whole or cut up. Sort to blanch by size. | 3 min | |
| Broccoli | Remove tough leaves and tough stalk ends. Cut to 1 inch pieces. Florets, leaves and stalks can be used. | 3 min- boiling water5 min- steam | Soak ½ hour in salt brine (½ cup salt to 1 quart/ 3.78L water) to drive out small insects. Rinse and drain. |
| Cabbage | Discard coarse outer leaves. Cut into wedges or shred. | 3 min- wedges1.5 min- shredded | |
| Carrots | Peel. Cut up to ¼ inch thick. | 2 min | |
| Corn (kernels) | Husk, remove silks, and trim ends. | 4.5 min | Blanch whole cob. Cut kernels from cob after cooling. |
| Corn (on the cob) | Husk, remove silks, and trim ends. | 7 min- small ears (1¼-inch diameter)9 min- medium ears (1¼-1½-inch diameter)11 min- large ears (over 1½-inch diameter) | Corn that is not thoroughly cooled may become mushy. Cooling corn-on-the-cob will take longer than blanching time. |
| Greens (spinach, kale, Swiss chard, beet greens, turnip greens, kohlrabi, etc.) | Remove tough stems. Leave stem on Swiss chard. | 2 min- most greens3-4 min- Swiss chard1.5 min- tender spinach or turnip greens | |
| Kohlrabi (bulb) | Remove tops and leaves. Peel. Cut ½ inch cubes. | 1 min | |
| Mushrooms | Remove tough bottom of stems. Leave small mushrooms whole. Cut large ones into like sized pieces. | 5 min- whole small3 min- pieces | When blanching mushrooms, add 1 teaspoon citric acid, or 1 tablespoon lemon juice, or ½ teaspoon ascorbic acid per quart/3.78L of water to prevent darkening. |
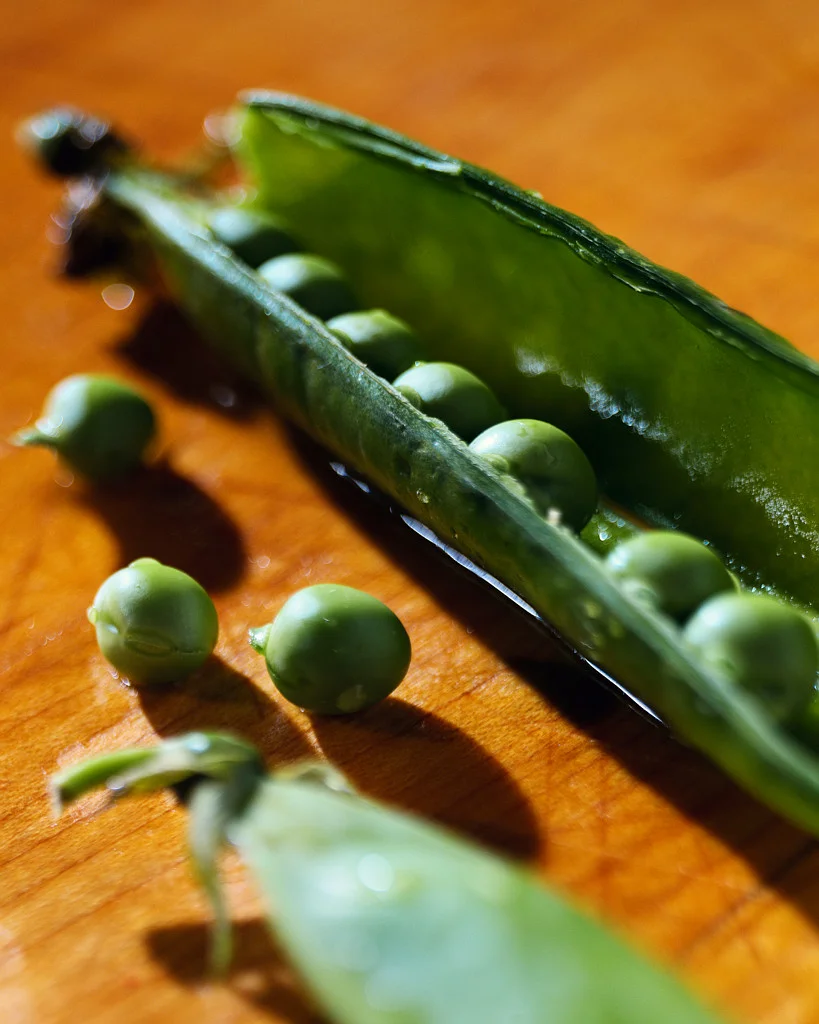
| Peas (green, English, blackeyed) | Shell one batch at a time. | 1.5 min- green/English2 min- blackeyed | Leave in shells until ready to blanch to preserve freshness. |
| Peas (edible, podded, sugar, Chinese) | Remove stems, blossom ends and string. Leave whole. | 1.5- 3 min by size | Sort like sized peas together to blanch. |
| Peppers (sweet) | Cut out stem and remove seeds. Cut in half. | 3 min | Chopped up peppers can be frozen without blanching also. |
| Potatoes | Peel. Remove deep eyes, bruises, and green surface coloring. Cut in ¼- to ½-inch cubes. | 5 min,Let cool, do not use ice bath. | Does not apply to preparing as hash browns or French fries- use different methods. |
| Potatoes (new) | Choose potatoes of similar size. Scrub vigorously to remove tender skin. | 4 min- ¾ inch diameter potatoes6 min- 1-inch diameter7 min- 1½-inch diameter
8-10 min- larger than 1½-inch diameter |
Chill potatoes in ice water 3 to 5 min then drain well. Use within a month for best quality. |
Here are two helpful videos to show you the process: