This is the first post by new RCR writer Kate Dutton. A recent transplant to Newfoundland from the west coast of Canada, Kate has lived in four other provinces and attempted successfully to garden in all of them. She enjoys cooking, learning new things, riding her bike and looks forward to exploring more of this beautiful province.
Outside the wind is howling and the snow is blowing with promises of (yet another) 10 cm of snow, if not more. This is the part of winter when I start to really look forward to Spring.
Seed catalogues arrive, thoughts turn to garden planning and due to the winter weather the supply of fresh vegetables at the stores can be hit and miss. Getting enough veggies takes some creativity and giving previously overlooked vegetables more of a chance in our kitchens.
Cauliflower is a vegetable I have to admit, I have rarely bought. I have enjoyed it roasted, in salads and in Indian dishes, which were always cooked by other people. I just never invited it into my kitchen, usually opting for it’s greener cousins, broccoli and kale. So when I came across the first recipe I read for cauliflower pizza crust my curiosity was piqued.
If, like me, you follow any food blogs, you will have probably noticed that cauliflower crust is the new black – at least when it comes to pizza. The traditional flour based dough is replaced with a “crust” made of finely grated cauliflower, and a few other ingredients.
Having been diagnosed with Celiac disease a few years ago, and eating gluten-free ever since I am no stranger to embracing alternatives when it comes to bread and baking. This seemed like a perfect marriage of a gluten-free pizza crust and a helping of much needed veggies. Also, cauliflower seems to be readily available this time of year, when more tender veggies are looking sad or are not even on the grocery store shelf at all.
Plus, pizza is always delicious, right?
I have tried a few recipes out so far. The first one I tried instructed to precook the cauliflower by boiling it briefly and was a complete flop – literally, as the crust was VERY soggy. It tasted fine, but the texture was a little strange. Also, the steps of grating just boiled cauliflower and squeezing the excess moisture out using cheesecloth seemed like a lot of effort for such a simple idea, and a weeknight meal.
It wasn’t a total loss however. A few parts of the edges were a little thinner and baked up golden, crispy and delicious. Exactly how I had imagined it. I looked up a few more recipes, experimented a little more and have found one that not only cooks beautifully, but also comes together in a short amount of time.
The cauliflower in this version gets grated or buzzed in the food processor while it is raw, and then sautéed a little to soften it. Combined with cheese, an egg and herbs, it’s then pre-baked before the toppings are put on, which turns it a beautiful golden colour. The pre-baking is the perfect amount of time to prep the toppings and wash the dishes. Once topped, another 10 minutes in the oven is all it takes before a delicious and healthy dinner for any wintery night.
I have also made this substituting half of the cauliflower with broccoli which worked just as well. I am looking forward to trying this out with some local cauliflower this summer – especially with the some different varieties that are available; such as orange, purple or Romanesque which all have slightly different flavours, not to mention great colours.
This recipe is from the wonderful blog Petite Kitchen ( www.petite-kitchen.com). There are many whole food recipes using local foods on this blog, which is based in Auckland, New Zealand.
Ingredients
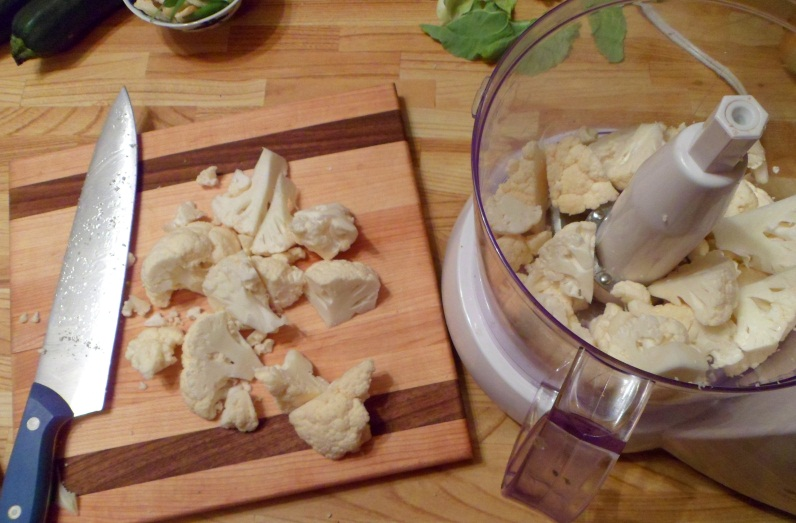
1/2 head cauliflower, broken into florets, approx. 2 cups
1 tbsp butter ( or coconut oil)
1 cup grated parmesan
1 egg
Salt and pepper to taste
Optional: Add whatever herbs or spices you like as well. I also add 2 tbsp of chia seeds.
Directions
Preheat oven to 400°F
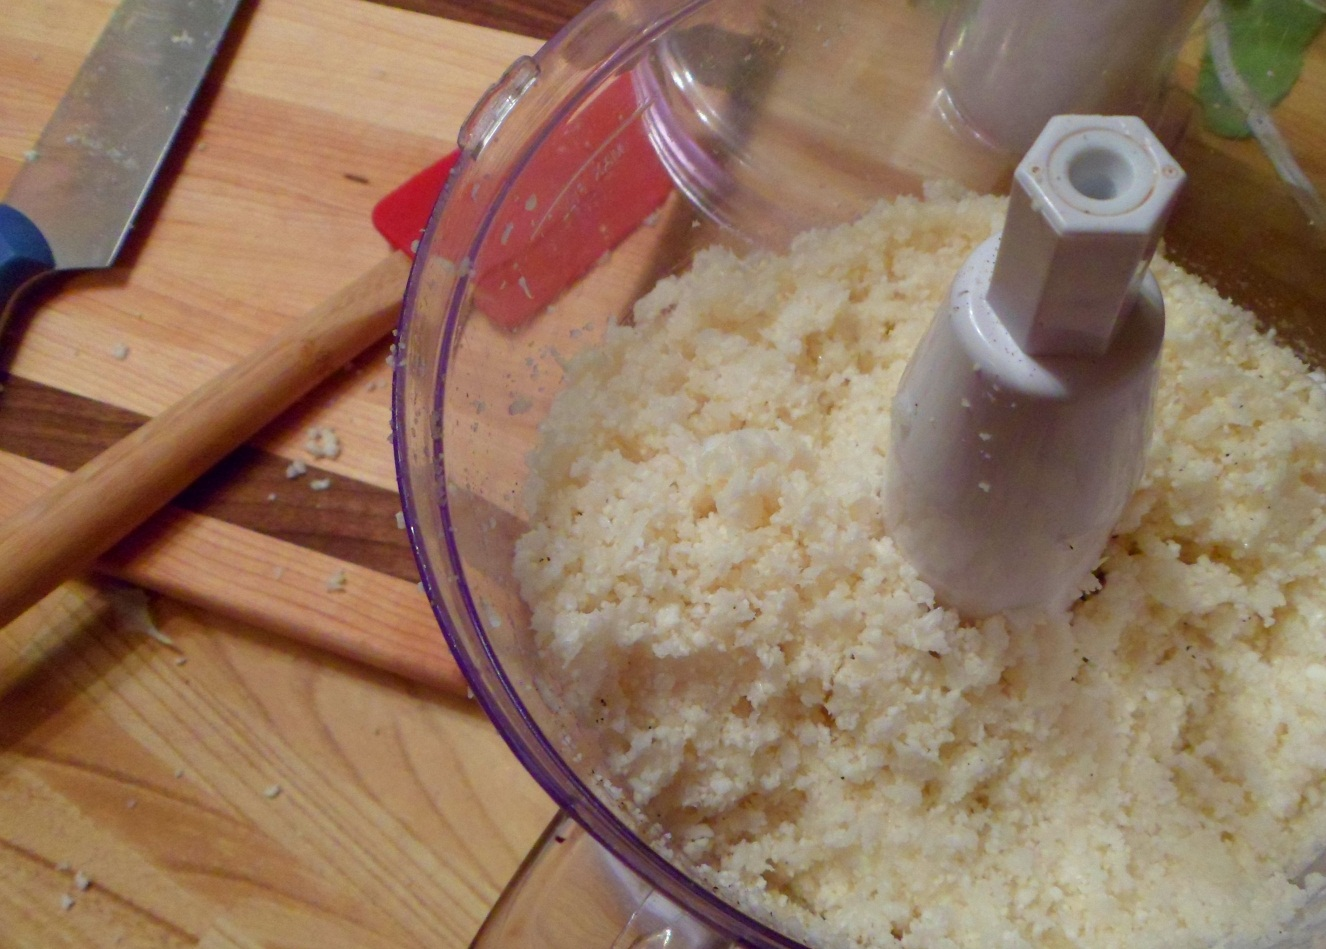
In a food processor pulse the cauliflower until it reaches a rice-like texture. You can also grate it using a box grater if you don’t have a food processor.
Melt butter in a frying pan over medium heat. Add the cauliflower `rice’ and sauté for a few minutes until it is softened. Remove from heat and allow it to cool slightly.
Add to a bowl with the egg, cheese, salt, pepper and any other seasonings. Mix well. The dough will be slightly sticky.
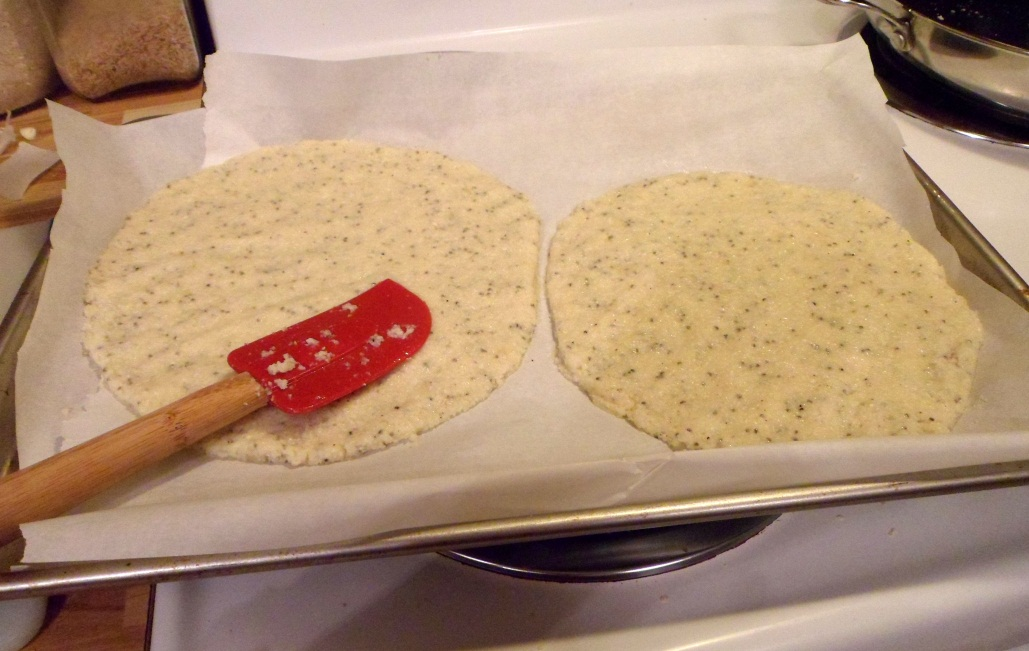
Spread dough evenly onto a baking pan lined with parchment paper. It should be about 1 cm thick. You can make one larger pizza, or two smaller ones. Bake in the oven for about 20 minutes, or until the crust is golden brown, with crispy edges.
Top with your favourite pizza toppings and return to the oven until your toppings are cooked and cheese is melted, roughly 5 to 10 minutes.
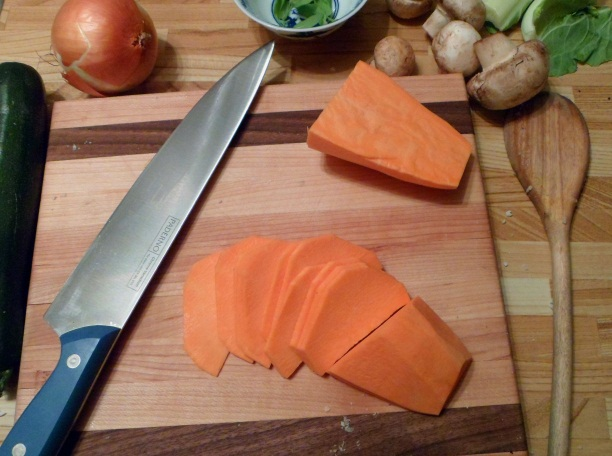
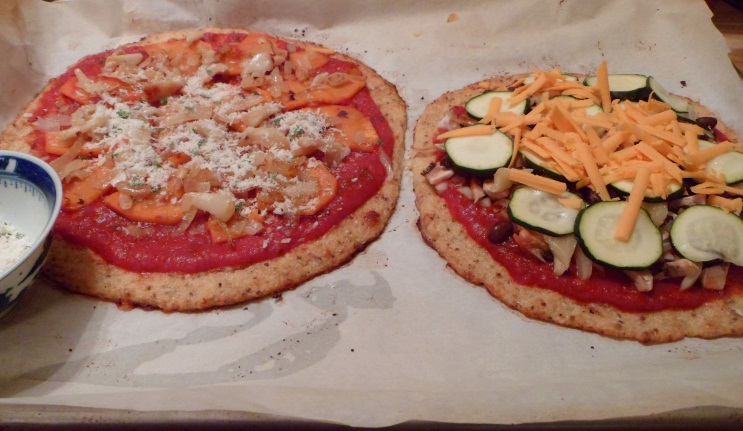
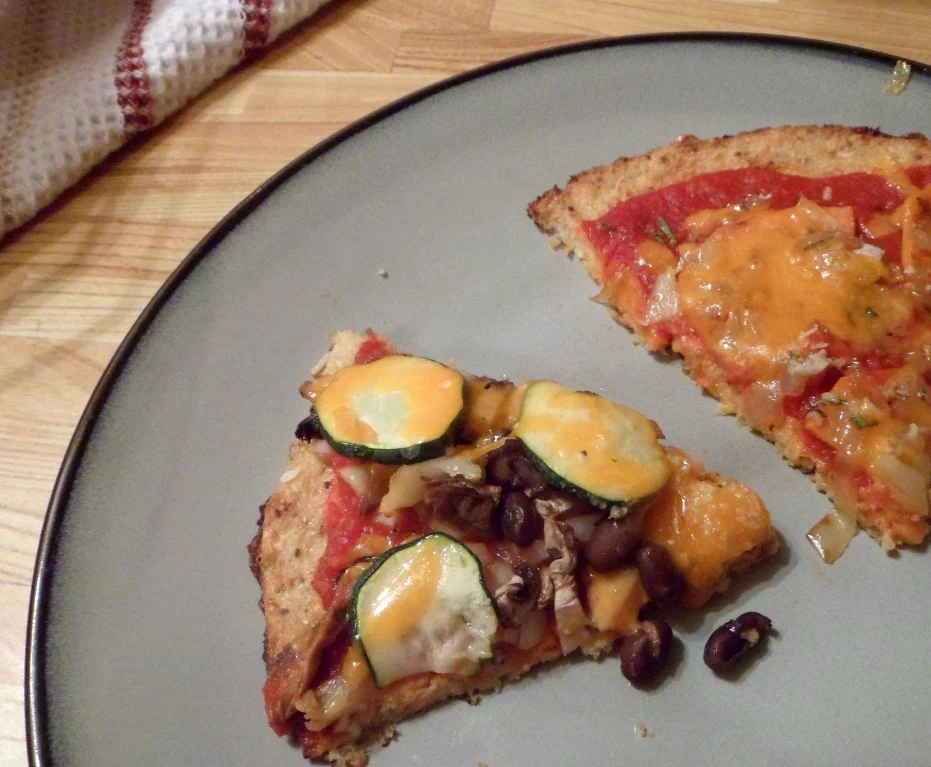
This time I made two smaller pizzas; one with thin slices of sautéed sweet potato, caramelized onions, and fresh sage and the other with mushrooms, zucchini, roasted garlic and black beans, topped with cheddar cheese.
Enjoy eating your veggies!
