Tomatoes

To Market, To Market

Tiny-Tim.jpg

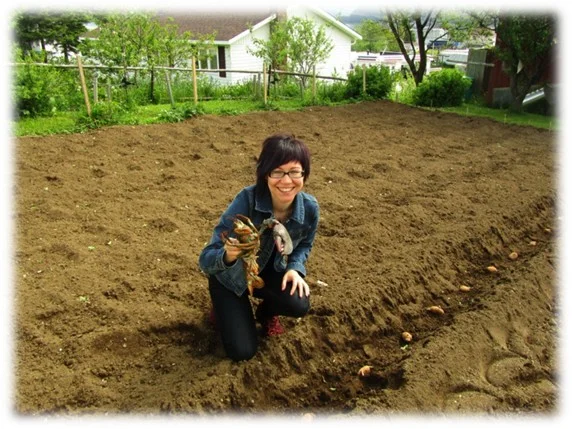
This post is the second in a series that Sarah Campbell, an intern with FSN, will be doing around the International Year of Family Farming this summer, gathering stories of family farming from around the Avalon Peninsula. Look for more stories in the coming weeks! The weekend before last was the first one that I attended the St. John's Farmer's Market – always a good feeling. I didn't spend too much time inside – long enough to get a coffee – but I was happy to see vendors I remembered from last year – selling books, soap, and local art. I really appreciate having a local craft culture that I get to delve into every once and while. The market is a great place to do that (you can go to the market's website to find out which vendors will be at the market each week).

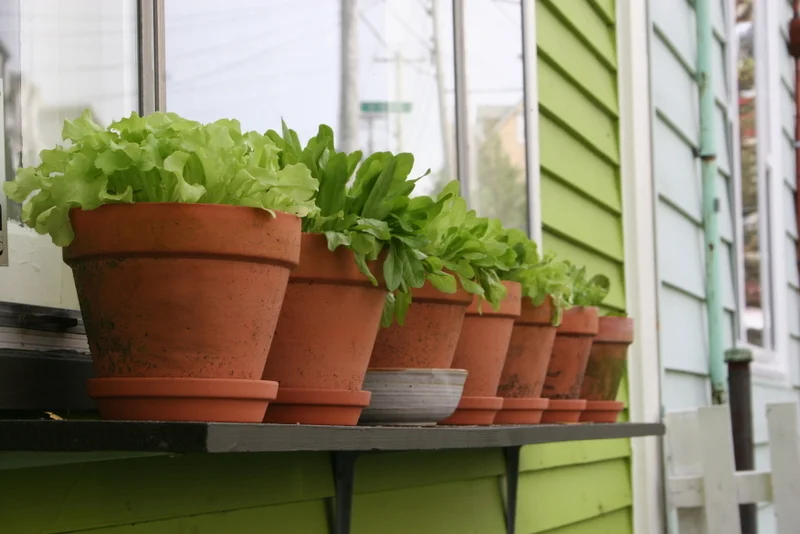
Most vendors were selling greens and herbs – the season, it seems, is still early. I picked up some green onions from Murray Meadow's Farms; The Organic Farm was selling greens as well.

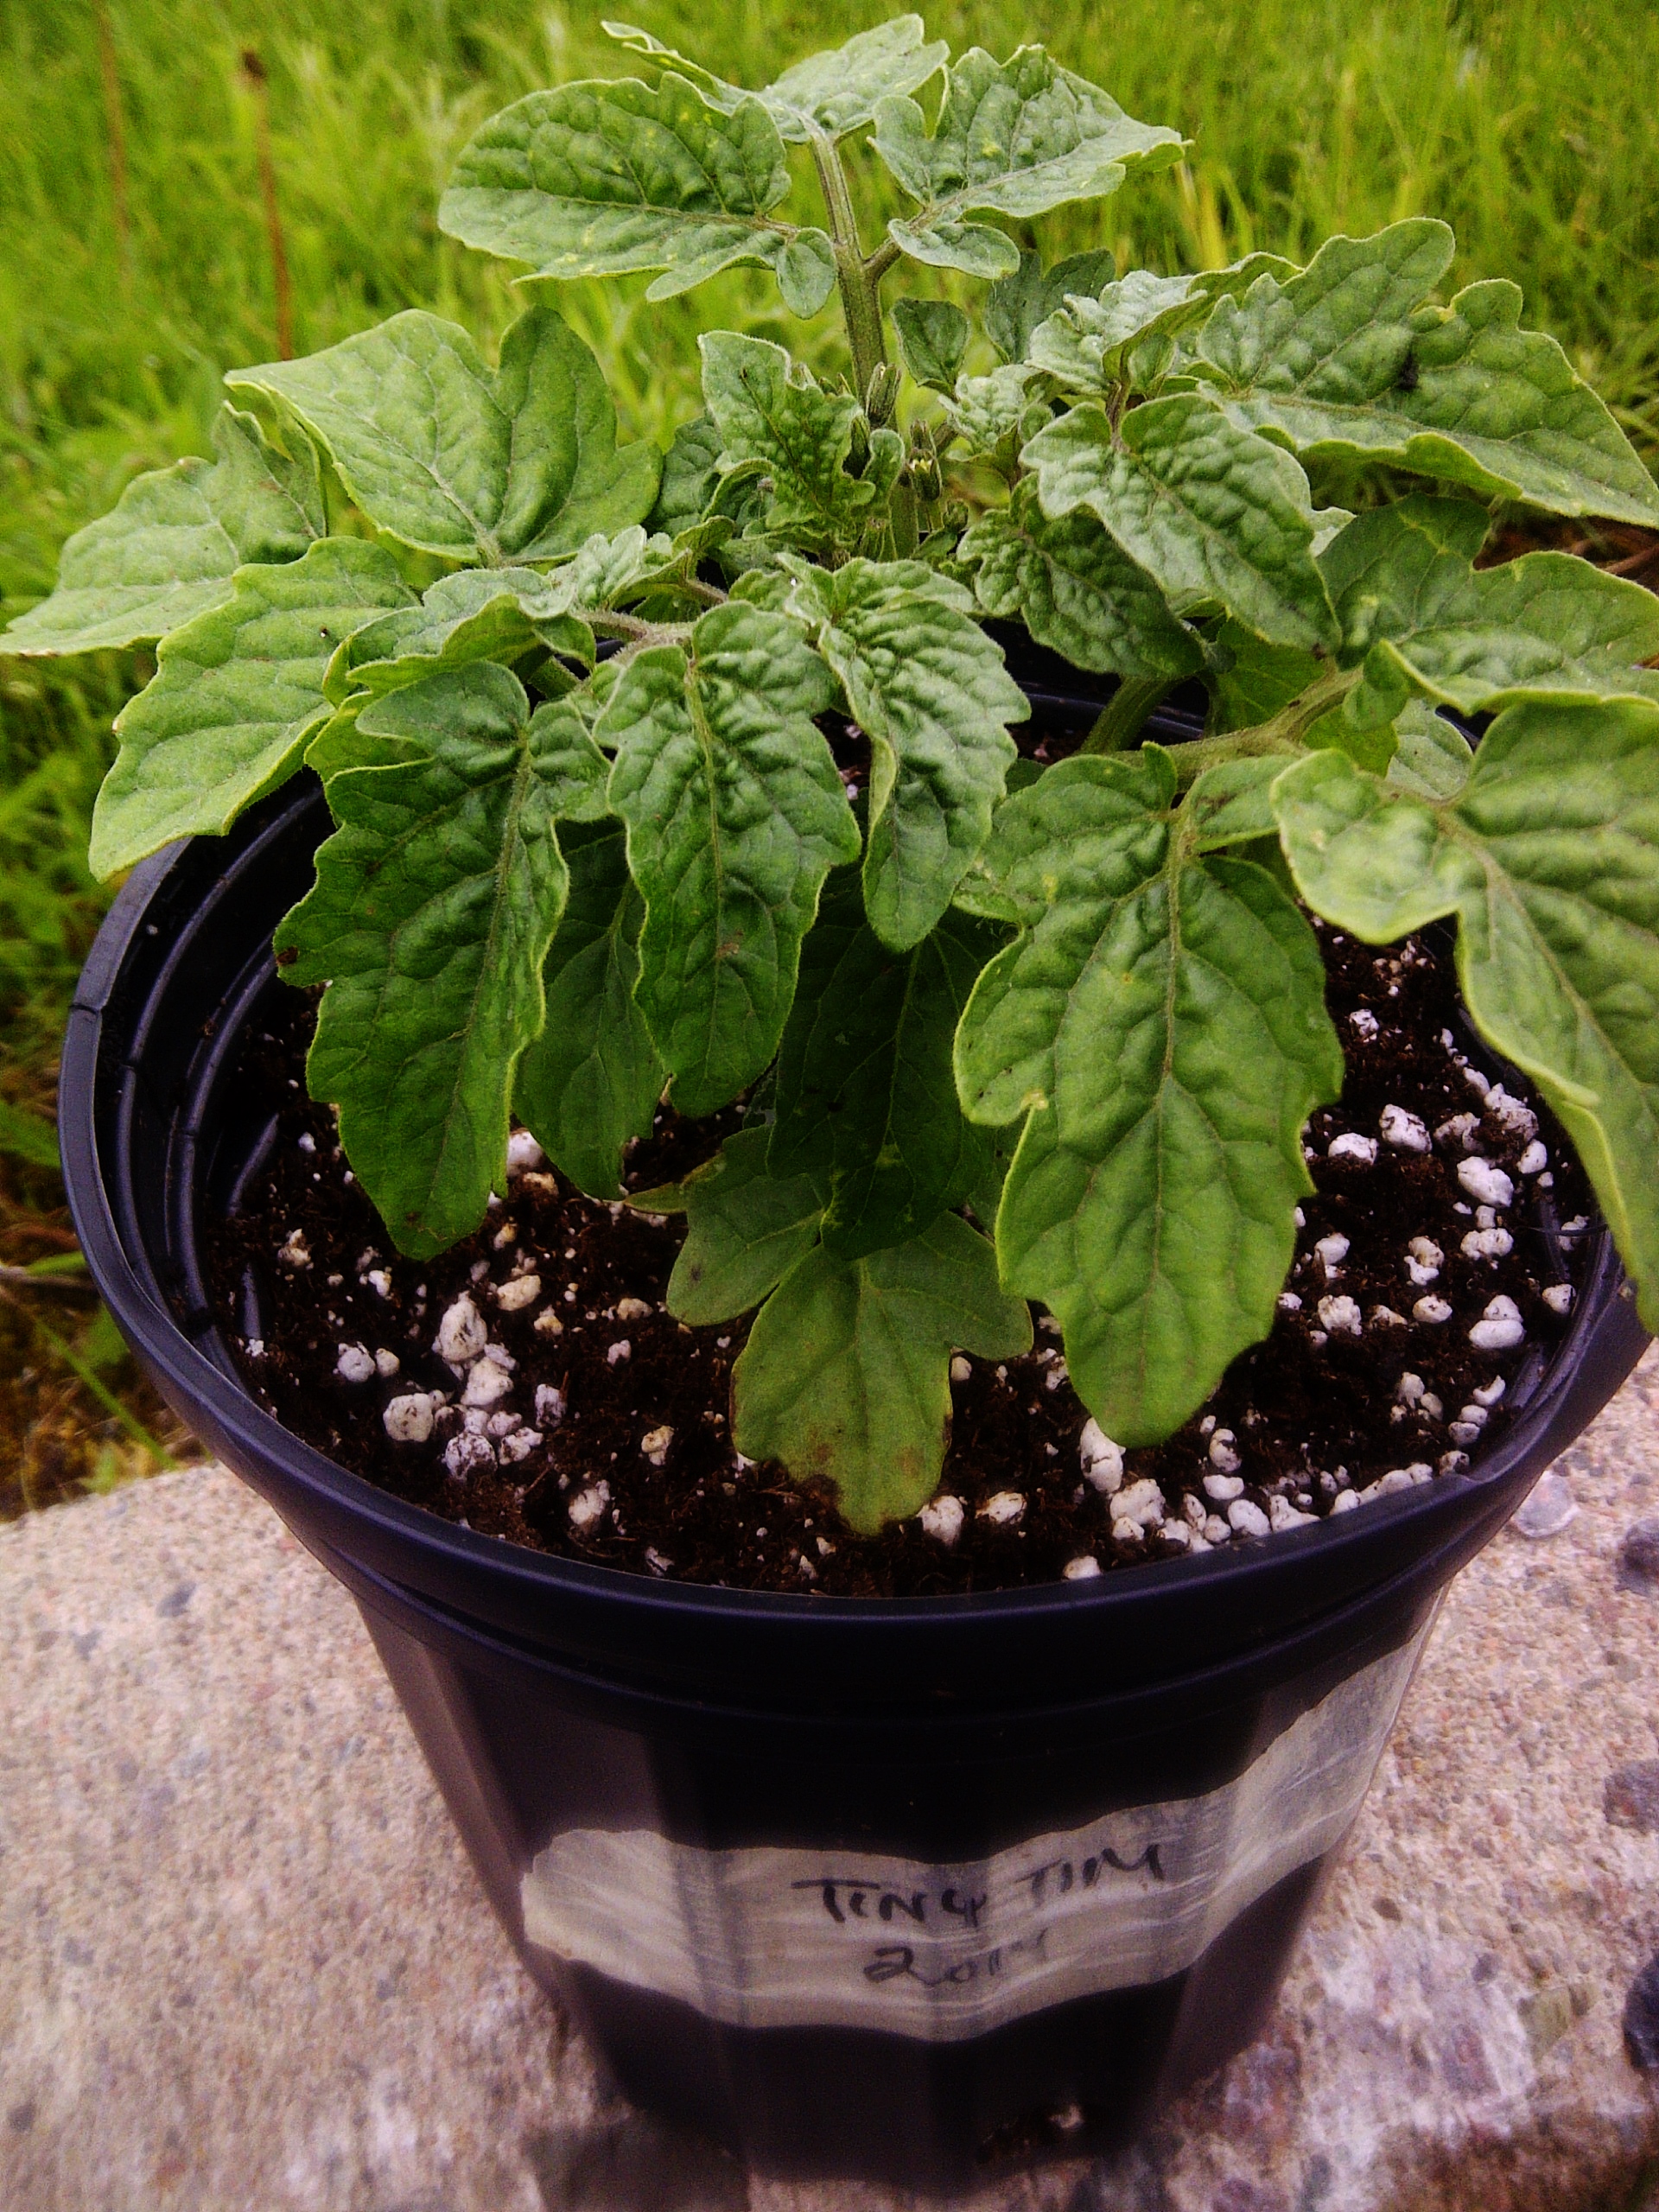
Another great find: many farmers are selling plants for your own gardens. There's a whole variety of seedlings and small plants to take home with you. Ripple Trail Farms had some kale seedlings on the go, which I plan to get some of next week – nothing better than a plate of kale chips. I got a small tomato plant – the variety is called 'Tiny Tim' – from Jeremy at Mount Scio Farms. Unlike most tomato plants that need to be staked or supported in some way, this one is a dwarf variety that grows more like a bush – great for indoor/container gardeners like myself. I was also happy to find a lemon basil seedling at Bloom n' Greens.

Tiny Tim

And of course, I picked up some eggs from Del at Oliver's Farms. The line is always long at the white truck, but it's long for a reason!

The St. John's Farmers' Market runs June-December, every 9am to 2pm at the Lion's Club Chalet between Bonaventure and Newtown. Check them out on Facebook as well for regular updates! And for schedules and updates for this and other farmers' and community markets happening across Newfoundland and Labrador this year, you can sign up for the FSN Monthly E-News!

My front yard grocery store

IMG_9062.jpg

When you garden in the city, you take your sunshine where you can find it. I have a tiny postage-stamp of a front yard, and a decent-sized back yard (for downtown). Neither one of them gets full sunlight, but from mid-June on the front yard gets blazing, baking afternoon light that vegetables seem to love. I had forgotten this when I started my garden this summer. Slowly but surely, though, I've been migrating pots and containers to the front of the yard, where they flourish, and scratching my head as I wonder about the best use for my backyard space.

Some of you may have heard the story this summer of a Michigan woman who was threatened with jail time for having replaced her front lawn with raised vegetable beds. In the end the charges were dropped, but things like this happen from time to time in the suburbs and in gated communities. In my 'hood, though, I think people are happy just to see something other than cars up on blocks, rampant sticky-buds, and abandoned, rusting home appliances.

Now, my front yard isn't going to win any beauty contests. The fence needs painting, the gate is broken, and there's a mud-pit where there once was grass. Still, people smile when they walk past, and they often stop to ask me what I'm growing. There's always some amazement when I rattle off my "grocery list": potatoes, chard, snow peas, garlic, radishes, tomatoes, fava beans, herbs, edible flowers, carrots, leeks, arugula, and some struggling squash plants... ground cherries... strawberries... did I leave anything out?

For a seasoned vegetable grower, it's easy to tell that I'm harbouring dinner among the pansies, cosmos, nasturtiums, and poppies in front of my house, but to the average passer-by, it all just looks like greenery. And I like it this way. Not that I object to front yards looking like mini-farms - I'm all for growing your veggies in any way that suits your schedule, your aesthetic, and your available growing space. But there's something fun about being able to sneak your edibles past everyone, and I love the way people react when they realize I have the makings of many meals just outside my front door.

There are a lot of inspiring books and websites about edible landscaping (aka "making your veggie garden look super pretty"). British gardening show host Alys Fowler's books, The Edible Garden and Garden Anywhere are both really fantastic (and her climate is similar to ours). Rosalind Creasy is the guru of ornamental edible gardening, and her book, Edible Landscaping, has just been re-released (it's excellent). Ivette Soler's The Edible Front Yard is a new book with lots of great ideas for creating a beautiful garden design with your fruits and veggies.

Of course, no matter what your vegetable garden looks like, it's all about what's coming out of it, and on to your plate. How about some delicious new potatoes? I cooked these ones up with chard, beet tops, and chives, and the next harvest got cooked and tossed with fava beans and dill (and doused with butter and lemon juice). Better than any store, that's for sure!

Saving Tomato Seeds

On Saturday, St. Thomas church played host to Spring FEASt Fest in St. John's, and I ran demos on how to save tomato seeds. Overall, I think it went very well; people seemed to respond pretty well to the demo, and I managed to swap for some seeds that I've had trouble finding. I also met Dan Rubin, who runs Perfectly Perennial Seeds & Herbs out in Pouch Cove. We had a great time chatting about saving seeds, and the importance of localizing varieties to the unique growing conditions here in Newfoundland. So, for those of you who couldn't make it, here's the gist of how you can save tomato seeds, and have them on hand for the next season.

First off, you'll need some tomatoes. I don't recommend trying to save the seeds from tomatoes that come from the grocery store, as most of them are hybrids. This means that any plants that come from those seeds will likely be one of the parent plants of the hybrid (at best) or won't sprout at all (at worst). Most tomatoes that are labelled as "heirloom" are fine, and if you grow your own tomatoes that are labelled "open pollinated", they should be fine as well, as long as the fruit is ripe. Next, you'll need some containers. I like using small glass jars, as it lets light in, and makes it easier to see what's going on. Plastic wrap is ideal for covering the tops of the jars, and you'll also need a sharp knife, a spoon, some sort of fine strainer, and paper towels.

Start off by cutting the tomatoes in half. I find that if you cut along the middle (that is, not down from where the stem joins the fruit), it's easier to get the seeds out. Using the spoon, scoop the gel and tomato seeds in to the jar. Don't throw away the scooped-out tomatoes, as you can roast them in the oven for a tasty treat! Add a little water - you should probably use filtered water, to ensure that there's no chlorine in it to contaminate the seeds - and stir the seeds, gel and water around in the jar. Cover the jar with plastic wrap, and poke a couple small holes with the knife, and put the jar somewhere warm. I've read that you shouldn't put it in direct sunlight, but I've always found that this works just fine. Stir the jars every couple of days, and let the mixture ferment for a couple of weeks. When it starts looking kind of gross (usually milky), and seeds are sitting on the bottom of the jar, you're ready to go.

Pour the mixture through your strainer, and rinse with non-chlorinated water to remove any remaining gel. Put the cleaned seeds on to some clean paper towel, and spread them out so that they can dry out evenly. Put the seeds somewhere sunny for a couple of weeks, until the seeds are COMPLETELY dry (they should feel like little flecks of paper when you handle them). If the seeds aren't dry, they can get mouldy, which usually renders them sterile. I like to put them in those little manilla coin envelopes, as paper does breathe a little. Remember, seeds may be dormant, but they're still living organisms.

You might be asking yourself, why don't I just dry the seeds straight out of the tomato? After all, this might sound like a lot of work! Well, it's slightly more work than beans or peas, but the results are well worth it, and most of the time is spent waiting - there's actually very little work. The reason that we have to take these extra steps is to roughly simulate what would happen to a tomato if left to its own devices in nature. The gel inside the tomato acts as a sprouting suppressant when it's fresh; once it has fermented and broken down, the seeds are viable and ready to sprout. If you think about what would happen in nature, the tomato ripens in August or September here, and if the seeds sprouted right away, the new seedlings would be killed off in the cold of the fall.

If you'd like to learn more about seed saving, I recommend checking out Seeds of Diversity. They're a not-for-profit organization dedicated to helping Canadians preserve our plant biodiversity. You can also check out this article on basic seed saving by Dan Rubin, it has a lot of great general info on seed saving and links to other resources.